That's right, another sneak peek!!







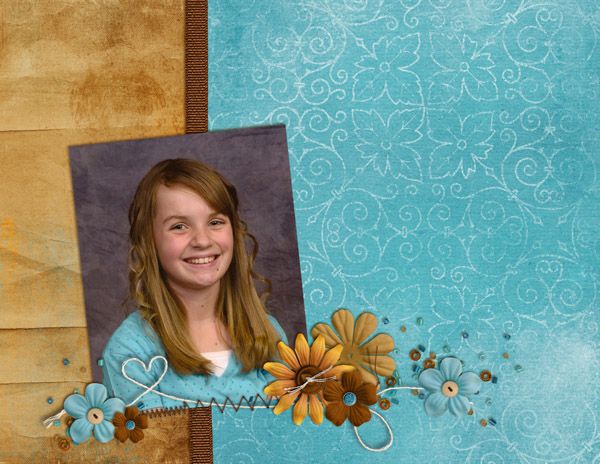
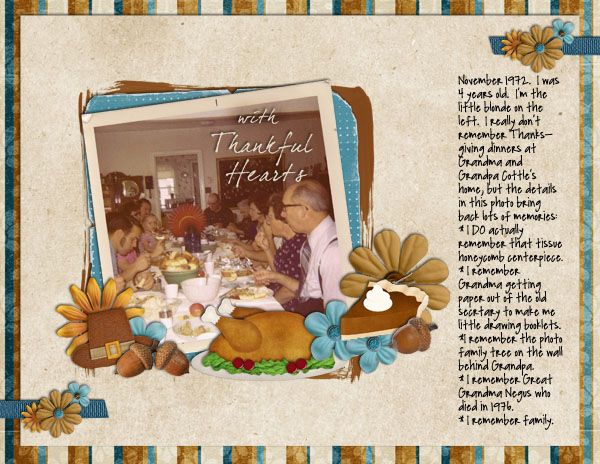
It is Friday and we have another bunch of new releases! Chelle is releasing a couple of new alpha sets! First up is Newsie Alpha. A very versatile alpha.
 Next up, Hangin’ Alpha! How much fun is this! Totally playing with the pennant trend and completely adorable. I want to put this on all my pages.
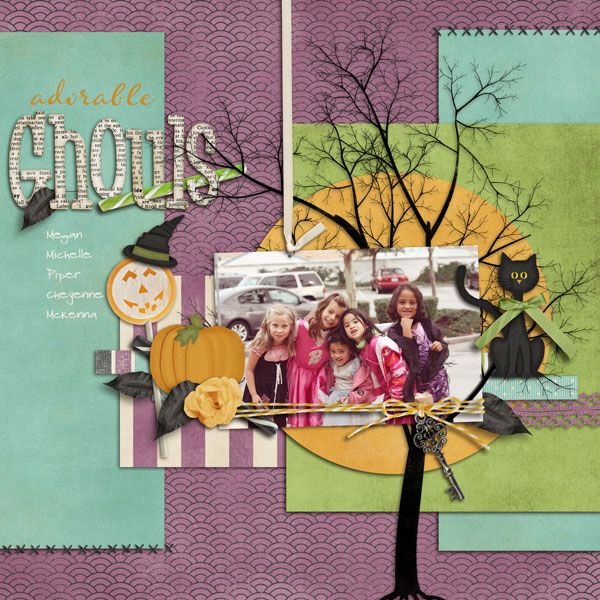
 And a bit of CT inspiration:

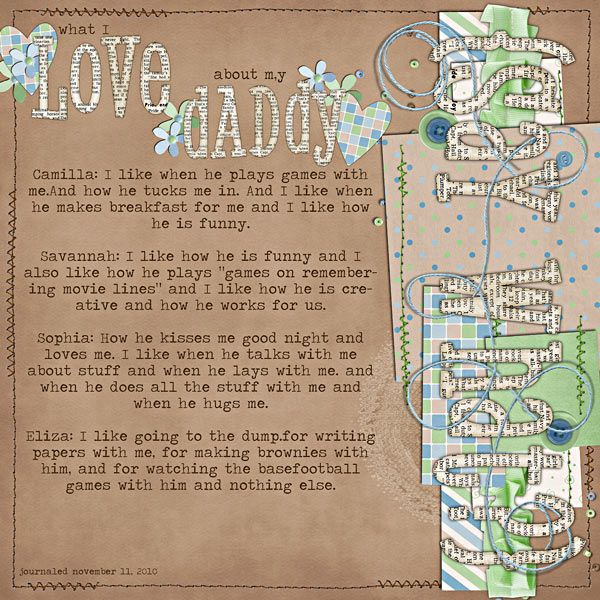
And Chelle also has a fabulous new CU item too. These are pretty cool.
 And that is it! Have a fab weekend!


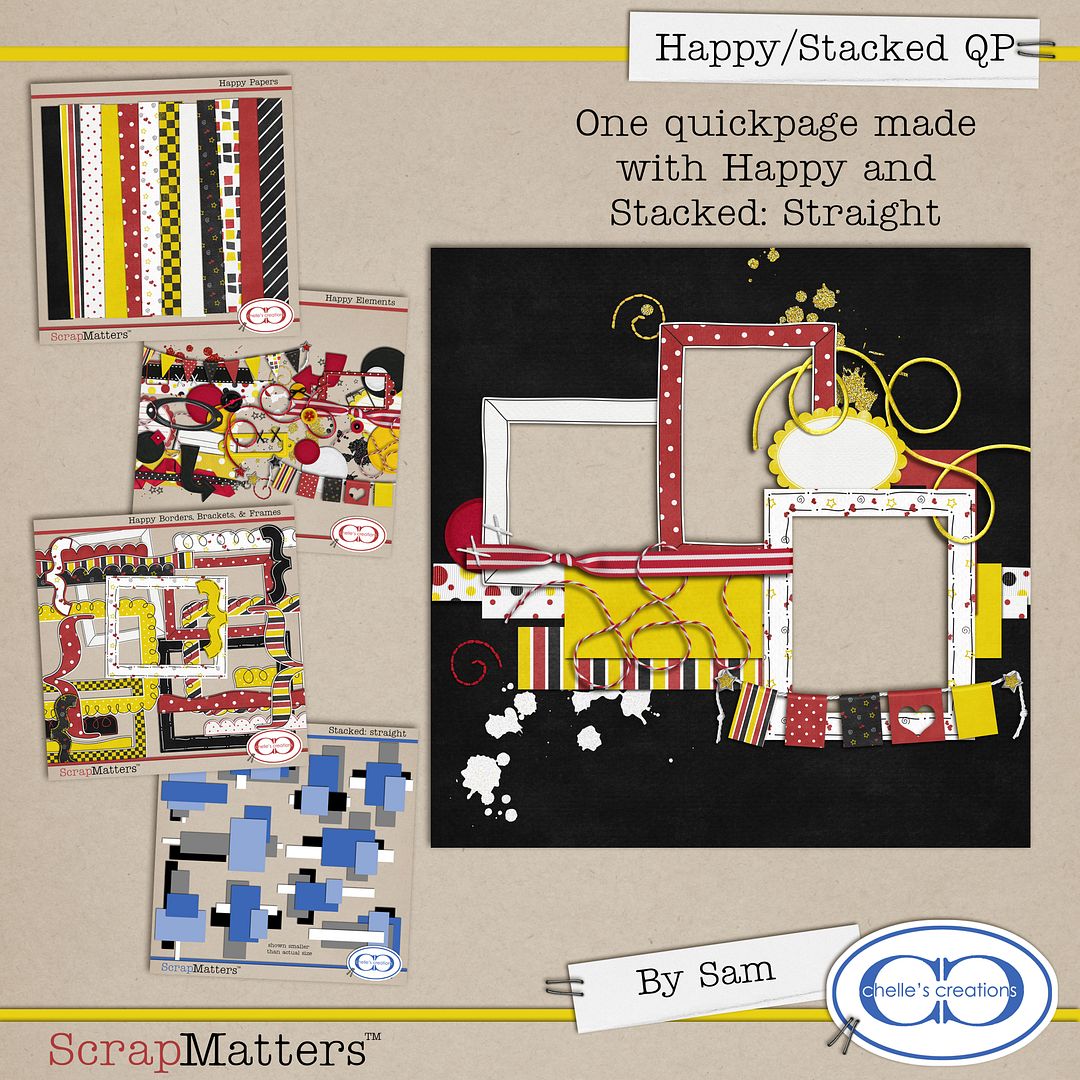
Hi! Fran here with your Tuesday Freebie! I had fun making this cluster for you. I used Chelle's Stacked: Wonky (boy does the CT *love* that set!) and Chelle's DSD grab bag kit, Happy (still available) in making this. You need Chelle's bag, especially if you are a Disney lover!! Just sayin. ;)
Here is a preview of my cluster.
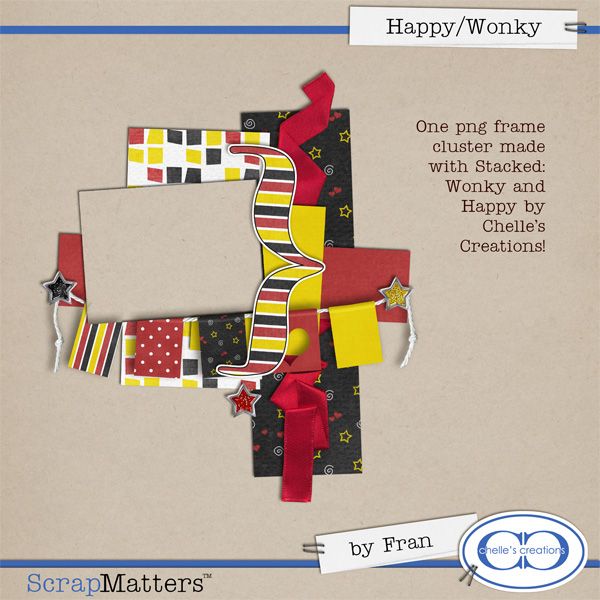
And you can download it HERE! Hope you enjoy it!
 The image is linked to Chelle's shop at ScrapMatters. Chelle also has this bundled with her super fun word art too! The best part? They are both 40% off right now with the DSD sale. Heck...EVERYTHING in Chelle's shop is 40% right now (except grab bags). So, what are you waiting for? Head on over and get to shopping!!

 Now, you've seen some great inspiration...head on over and get to shopping. With this awesome discount, you can't pass it up!
Krisi here today to spotlight one of our guest CT members this month - Linda (scrapporreia). It was fun to read the responses to the questions I asked her... and she picked out some fun kits and layouts!
If you are looking for the blog trains... they are down below this post.
1. How long digi scrappin?
I’m still a newbie - I started as an avid spectator in about April 2010. I scoped the sites that my friend Jenn (jk703) suggested after I saw one of her paper scrapped books. It was soooo awesome. I bought a TON of stuff and downloaded every freebie that I could find. Then I spent the next 2 months ‘organizing’ my stash. Only to find out that once I made a page, I’d need to credit it, so I RE-organized my stash. Then Jenn said, Scrap already! Lol
I did a challenge to give me some guidelines and learn sort of what to do on page. That was about mid-June and I’ve been hooked ever since.
2. What program do you use?
For work I use the whole Creative Suites but for digi-scrapping, I use PS CS3. I recently saw CS5 for PS and drooled. Had to get a napkin. I’ve been using PS for over 15 years and did some in-home tutoring on the side, so I’m an addict. I love Illustrator, too and use that for my word art. I recently used InDesign for my first ever hybrid I did last week – So fun! I’m a Quark girl so it was a bit of a learning curve with the keyboard shortcuts.
3. What kit are you dying to use of Chelle's, have you already used it?
I bought Chelle’s Ho Ho Ho kit back in the Spring/Summer. 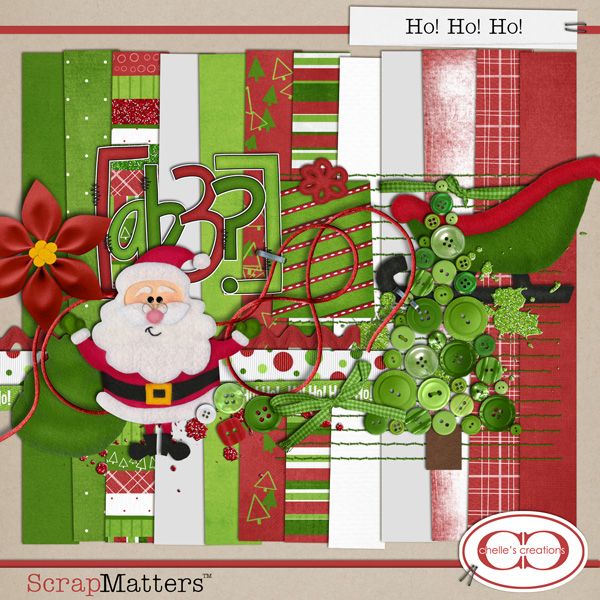 I saw this Visit with Santa layout by Kendallt that I loved and had to buy the kit.
  I had so many Summer photos to scrap that its been gathering virtual dust until the Winter holidays rolled around.
4. What is your favorite layout using Chelle's stuff? I have so many its nearly cruel to ask me to narrow just one.
I love Playtime with Elmo by Breeoxd. She spot colored Elmo back into a BW and elements (especially the streetlamp) were so cute and fit perfectly with the image. I love that she used a yellow and white paper to offset the red. 
I also love this One More Story layout by KeepScrappin because I can soooo relate and I love the colors- how she accented the dark blue with the crumpled yellow strip and how she used the elements – the books were a nice touch, too. 
5. What is your favorite tip or trick related to digital scrapping?
The best advice I ever got (in my mere few months) was from a veteran scrapper who told me to stop concentrating on the CT requirements or the Challenge limitations and scrap for me. Being new, I thought Challenges and joining CTs would help me learn more about scrapping and give me guidelines and ideas of what to do, how to do it, etc. While she agree that getting involved with the community would make it more fun and I’d learn quickly she cautioned me to make sure every page I do is one that I would like and would put in my albums.
Ever since then, I’ve heard her in my head when I approach a new page, and I think my pages look better because they are more ME.
6. Can you tell us a little known fact about yourself.
I’m lazy. Given the choice between laying around and watching TV or running all over town doing a million things. I vote for laying around. Lol.
The reason this surprises people is because I bake a lot – often making foods that the neighborhood kids can decorate & take home, I cook a lot and love to entertain, I do crafts with my son, and activities like organize treasure hunts for him, make sure we take him outside as much as possible. I learn new things like making balloon animals and face painting so that every day can be a carnival. So, while I’m delivering homemade dumplings or marshmallows my friends all think I love to keep busy and be on the go.
Actually, I love being lazy, too!
Thanks Linda for allowing us to get to know you a little bit more!
Don't forget that Chelle's DSD Sale and Dino Dig are still going on.