Heather here, with a sneak peek of Chelle's products you don't want to miss!!


What do you get when you add together one spark of imagination, SIX awesome designers, and a whole lot of creativity?? You get the new MouseScrappers store and its very first kit! This week you will be putting on your thinking caps and letting your dreams take flight with a journey into….IMAGINATION!

In support of MouseScrappers, 6 all star designers(Britt-ish Designs, Chelle's Creations, Haynay Designs, Leslie Bodoh Designs, Sahlin Studio and WM[squared] Designs) have come together to create a kit that includes 2 full alphas; 29 rich, colorful papers; and over 60 incredible elements including park icons, tools of imagination and our favorite dragon. This kit is sure to spark your creative imagination! Not only will you be receiving this awesome collaboration kit that can’t be found anywhere else, your purchase will help support the operation and upkeep of MouseScrappers and its fabulous gallery!
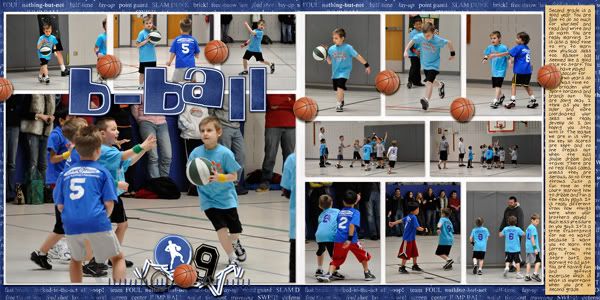
Check out this great layout using the kit:

In honor of the new store and the fantastic Imagination! kit we’ve got some must have blog train freebies to share. Here is my contribution:

and your next stop is…Heather’s (Haynay) blog! And if you are so full of Imagination! that you lose your way on the train, you can always get back on track here at MouseScrappers
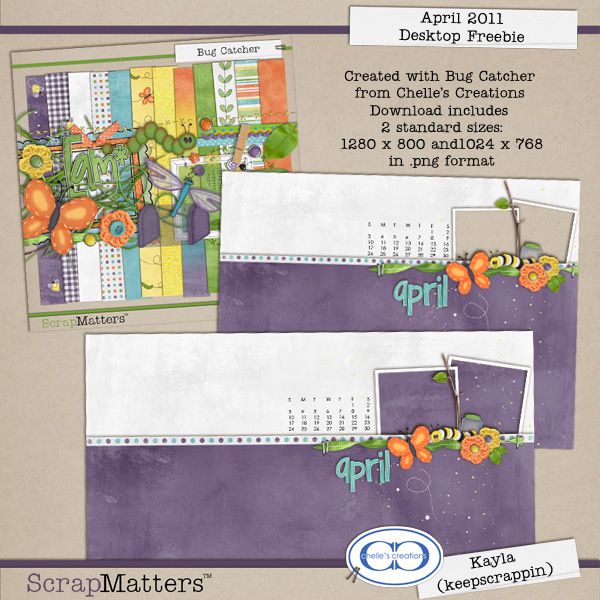
Hello! It’s another Friday and Chelle has some really fun products for you today! First up, have you noticed those cute little siggies over in the forums? Well, now you can create one especially for yourself using these premade spring sigges. Using Chelle’s Bugcatcher, Carrot Patch, and Spring Breeze, these are perfect for this time of year and it comes with the most adorable alpha! Available in two different packs!


And then there is this great CU alpha! I am in love with doodled alpha and this one is no exception!

And there you go! Have a great day!


It’s Friday and Chelle has a great new farm kit. It’s fun with felt! My personal favorite is the pig, but that’s just me! Great for farm, petting zoo, and much more! Available in a combo pack as well as just the kit and just the felties. For this week only, the felties are free when you purchase the kit! Here is a look at the combo:
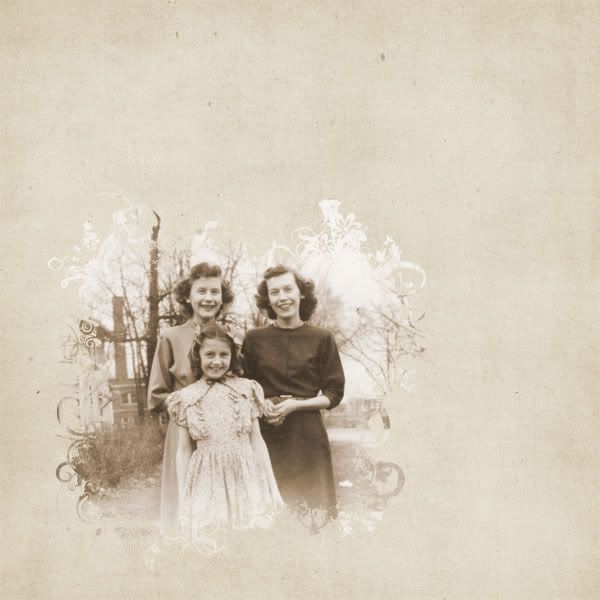
 And for those looking for CU items, Chelle is releasing these shabby overlays. I am in love with these and they are definitely on my shopping list!
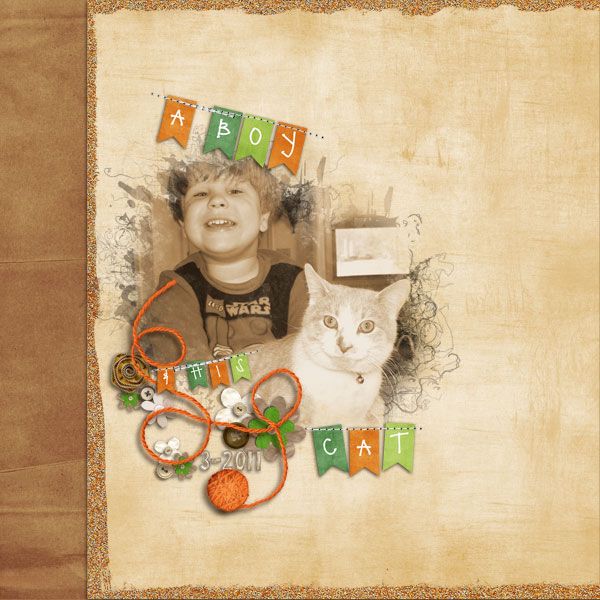
 And here is some CT inspiration:
Janine: 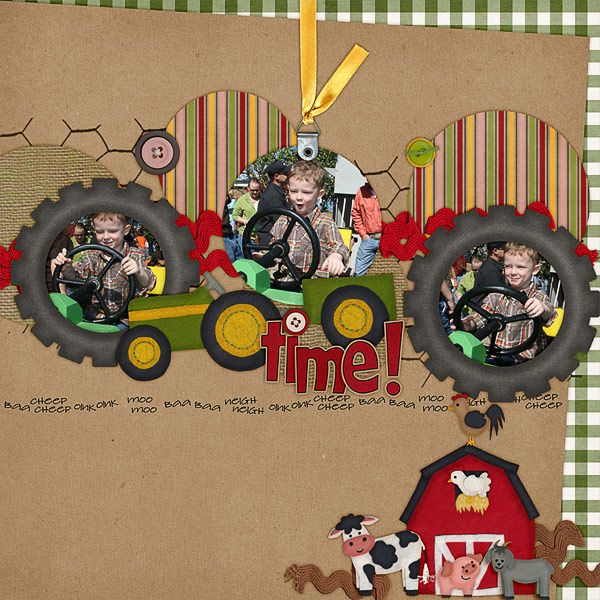
Roxana: 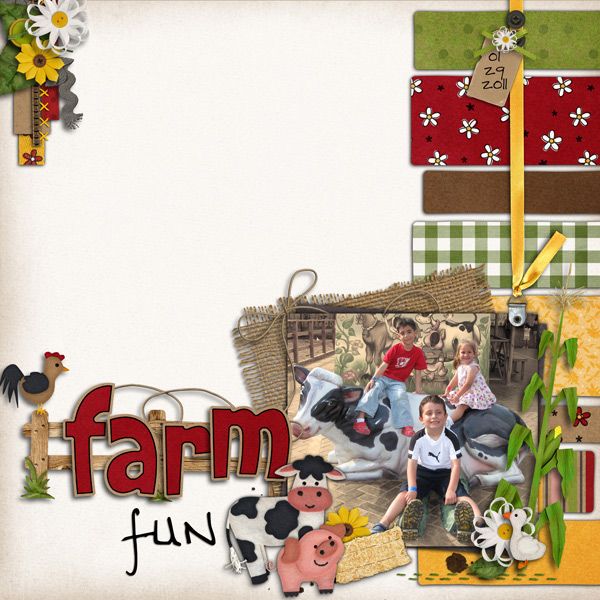
Jan: 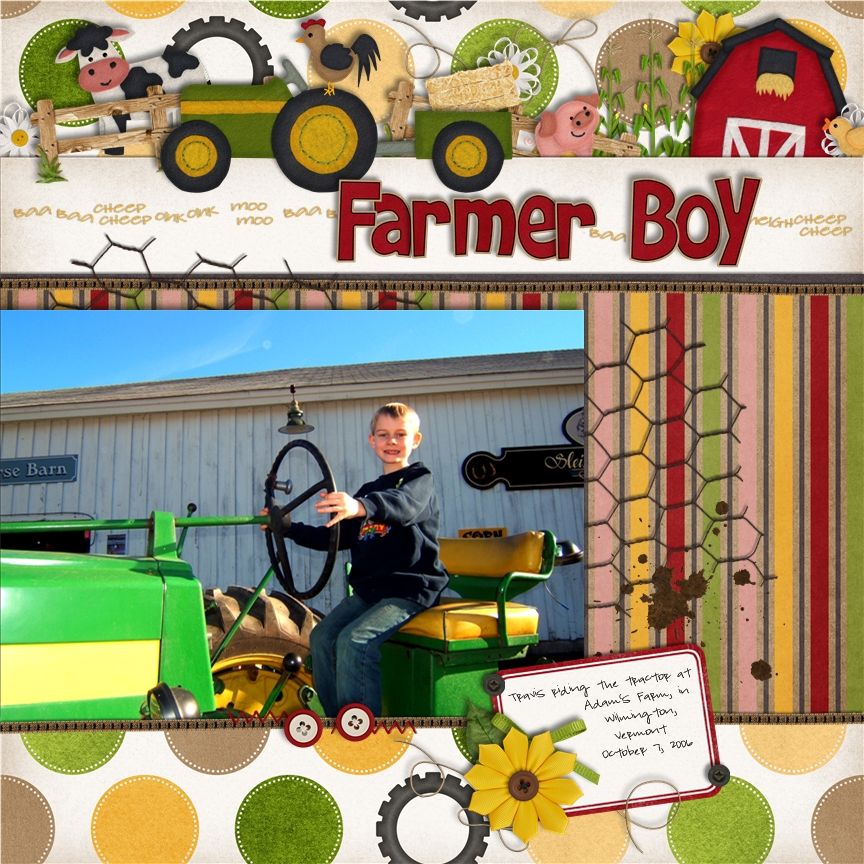
Kayla: 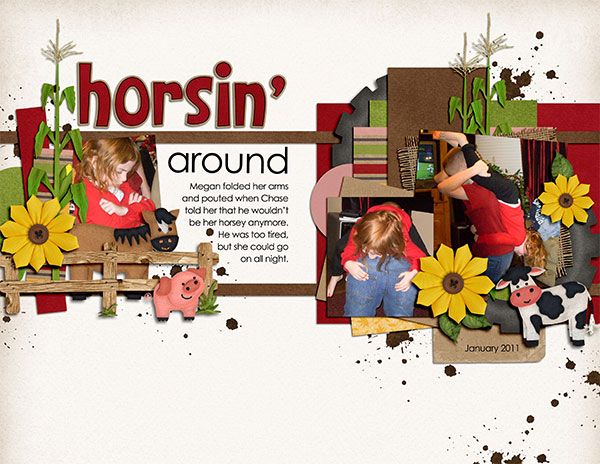
Heather:

Fran: 
Liz: 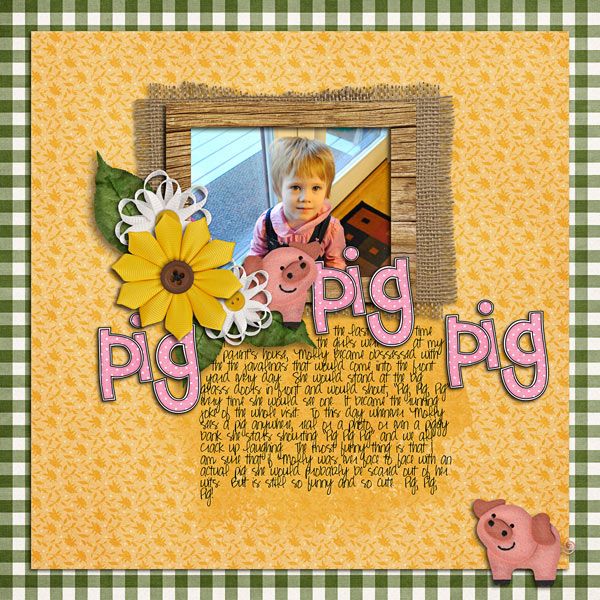
Kairyn: 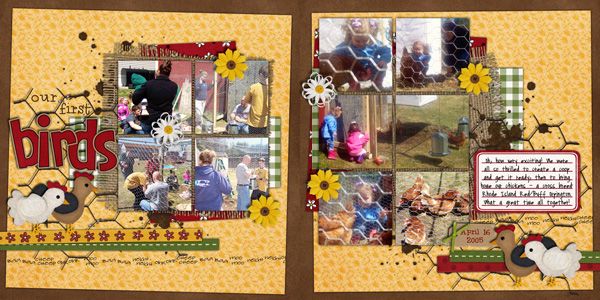
Bre: 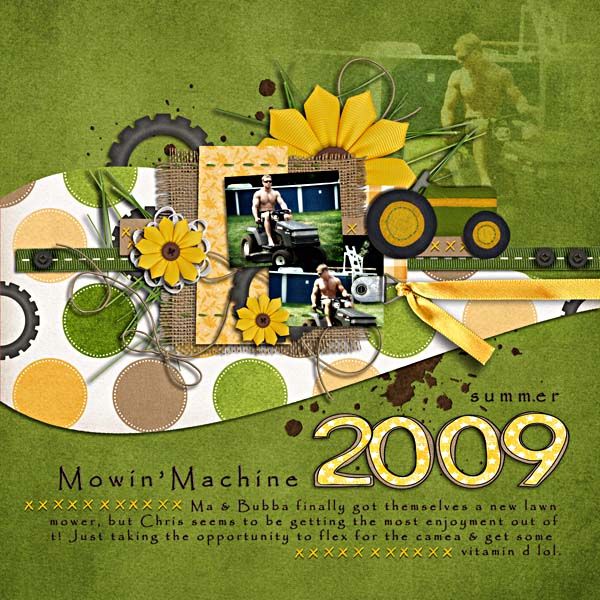
Shanell: 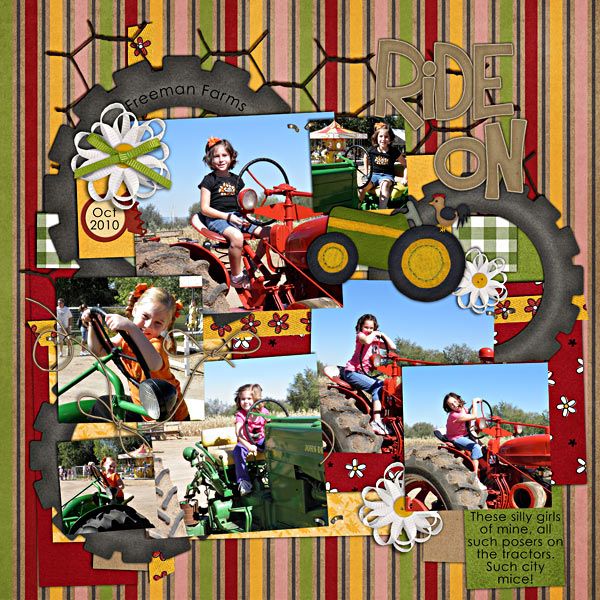
Karen: 
Kassie: 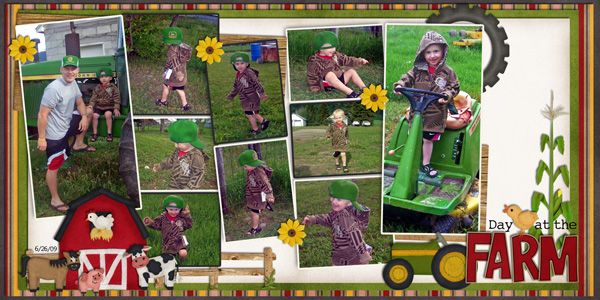
Cara: 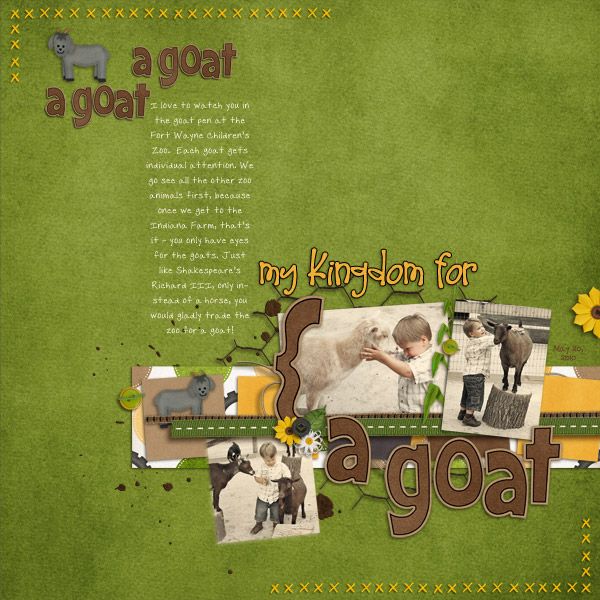 Finally, a little blog freebie to coordinate:
And that’s it! Have a great day!