
 Hello everyone,
It's Kayla aka keepscrappin here today to share a tip with you. We all love our digi supplies and one of the things I love most about digi supplies is the ability to get more from them. Today, I'm going to show you how to get more from the frames in your digi scrappin stash.
I used Chelle's Creations awesome Spring Breeze kit for our sample layout.


Now, you might be thinking I'm crazy because I don't have a frame on this layout - but do I? (insert evil laugh)
Yes, I do have a frame on my layout. However, I didn't use it as a frame. See the two strips of white paper stitched down on the edge of my paper stack? That was a frame. I just used a little photoshop magic and changed that frame to something that would work better for my layout. And guess what - it was totally easy!
Here's how I did it.
I'm using PSE 7, but I'm sure you can do something similar in other programs.
First open the frame in your photo editing software and SAVE AS a different name so you don't ruin your original frame. I'm using the frame named - cc_springbreeze_double frame.png
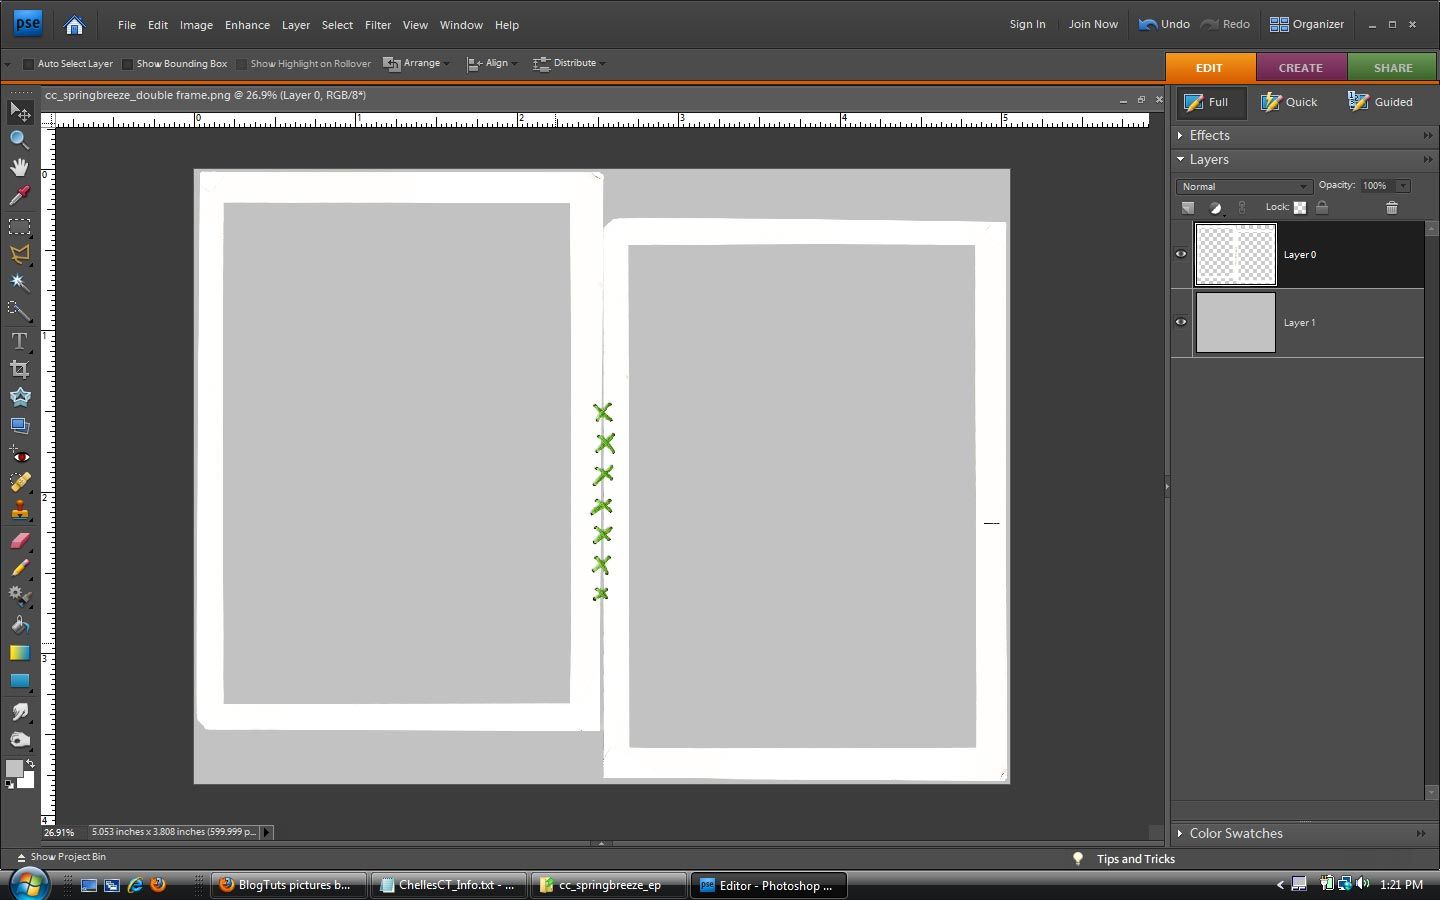 I've added a gray background so you can see the frame in the photo.
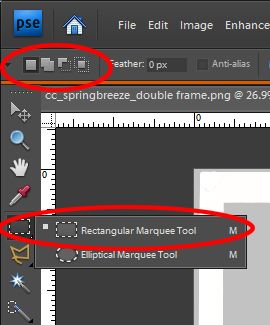
Then, get your Rectangle marquee tool and select the first box in the option bar as shown in the image below.
 Now, draw a selection to remove one side of the frame as in the image below - leaving only the strip of paper that is stitched down.
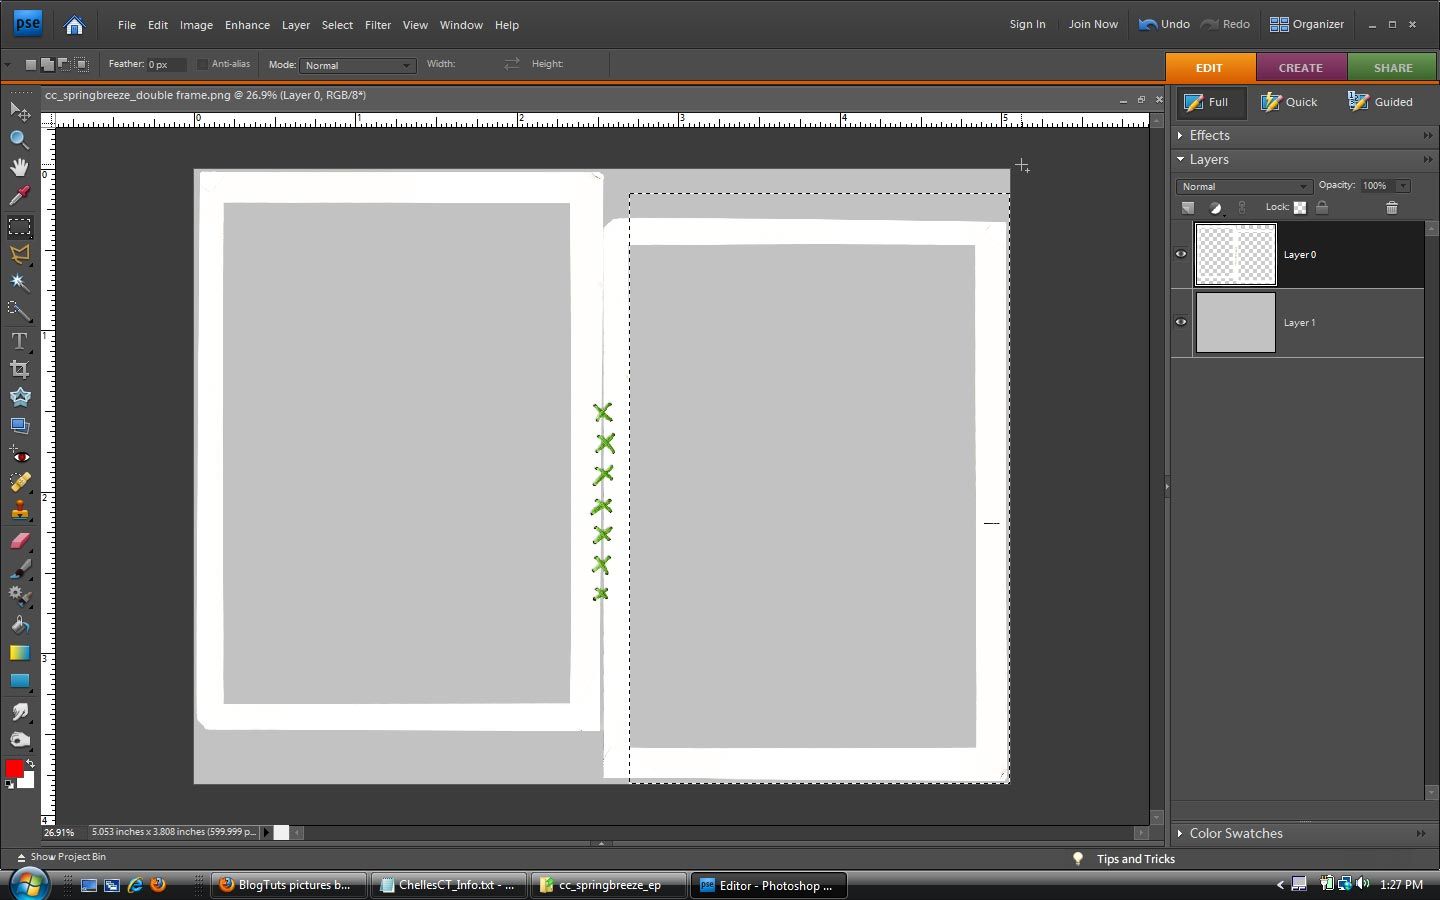 * Remember that you can reposition your selection by holding down the spacebar before you let up on the mouse to get it right along the edge of the stitched down portion.
Now hit delete.
Then, use your mouse or arrow keys to move the selection to the other side and to select the remaining unwanted portion of the frame.
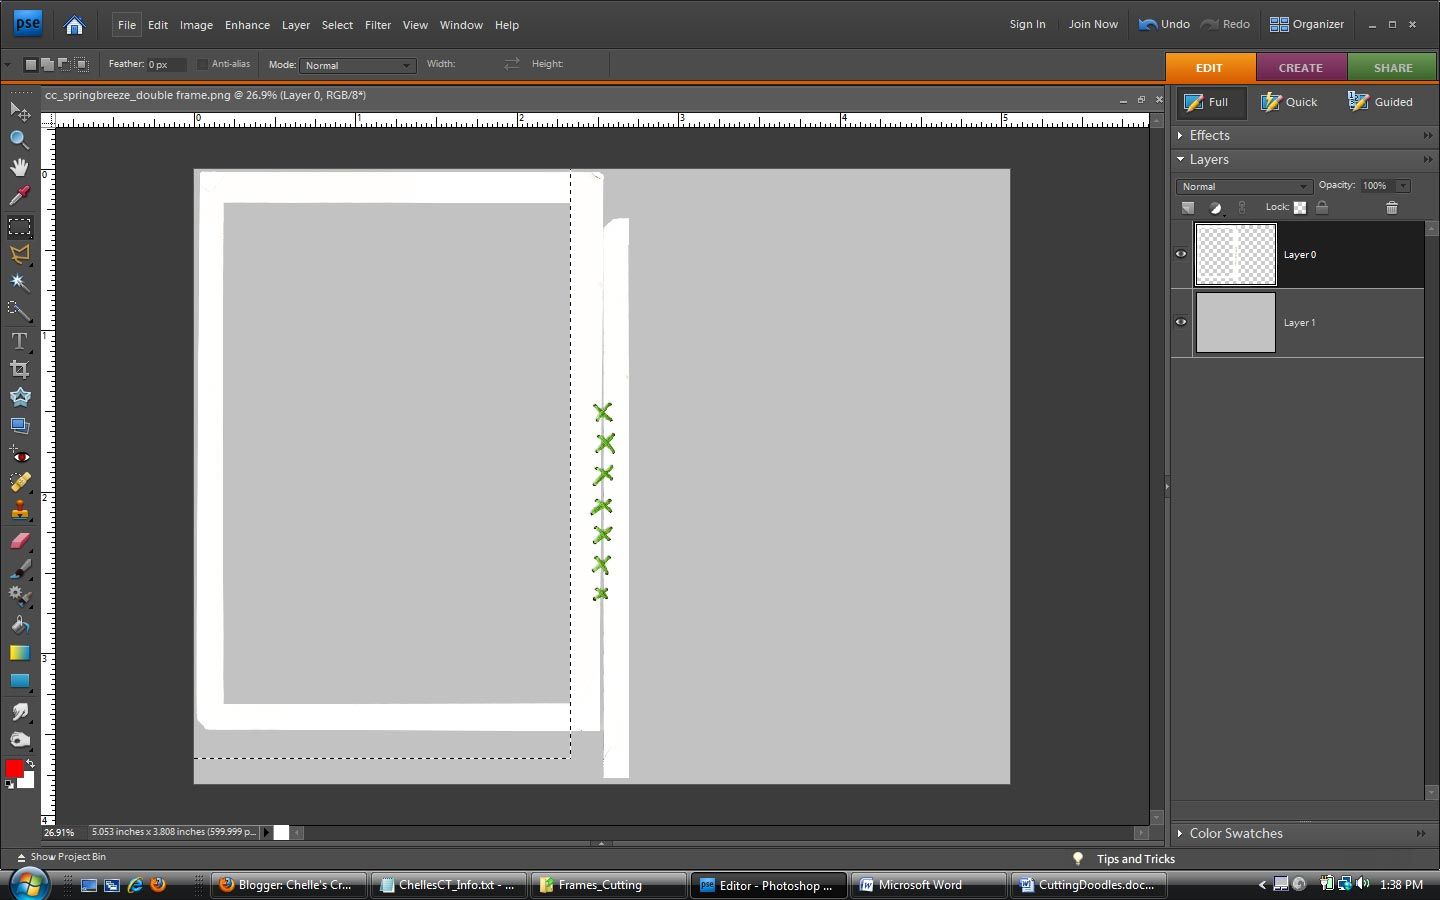 Hit delete again and you've got yourself a new embellishment for your scrapbook page. Leave it as is or add some more embellishments as desired.
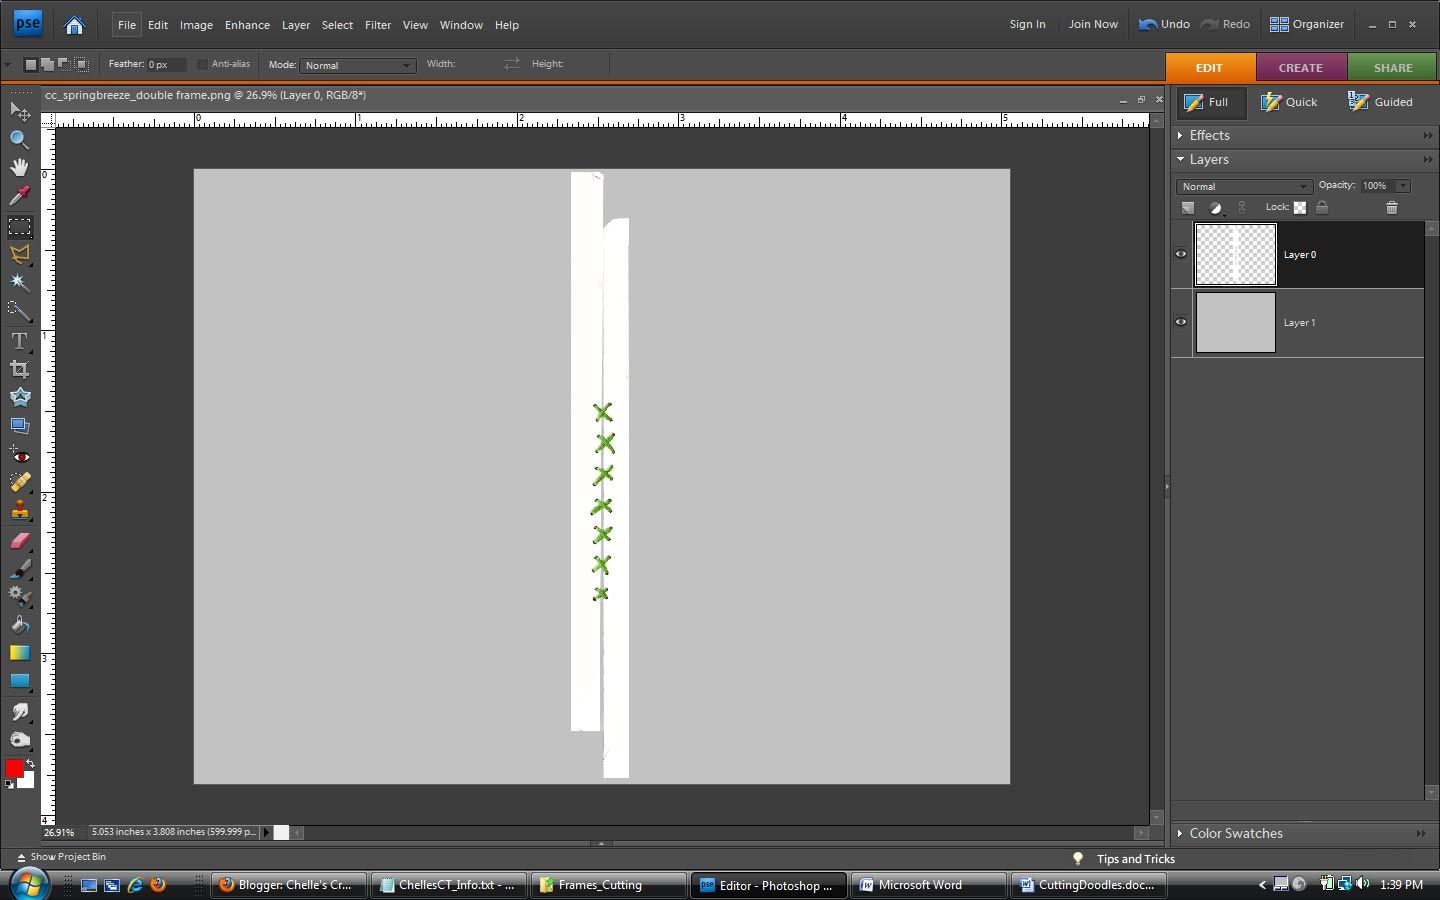 Easy Peasy right! You'll never look at another frame the same again, cuz now you know that it can be so much more with just a little photoshop magic. lol
I hope you enjoyed today's tutorial and will share your layouts that you've made using Chelle's products with us in her designer gallery here at ScrapMatters.
Take care and as always keepscrappin'!


Hi Kayla!
ReplyDeleteThank you for another great tutorial. I am (still) new to Photoshop, but I read your tut and THINK I understand exactly what to do! You have accomplished something miraculous...Thanks again to you and your CT mates for these wonderful, easy to understand explanations!
Awesome tut! I never thought of changing elements that way....and I don't know why I didn't. You've made it so easy! Thank you :)
ReplyDelete