Hello everyone,
It's Kayla aka keepscrappin here for the last Tuesday freebie in May.
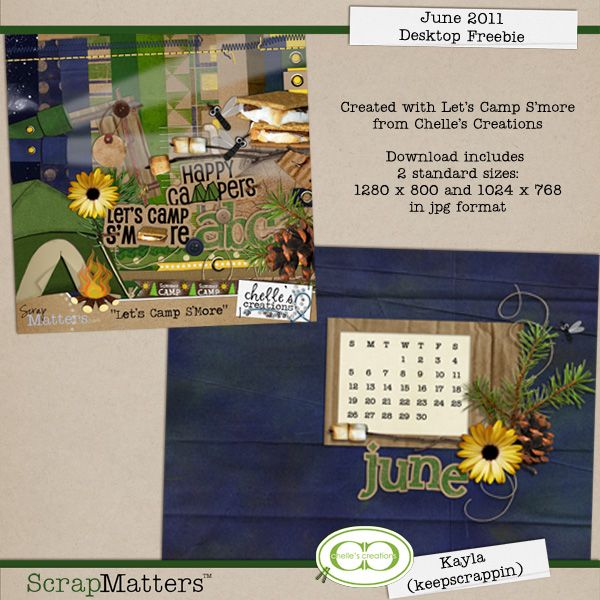
May has just flown by and things have been crazy-busy around my house, so I'll just get right to it. Today I have the June Desktops for ya'll. I made them with Let's Camp S'more available in Chelle's Store.
Download freebie from 4shared
Enjoy!
Tuesday, May 31, 2011
Saturday, May 28, 2011
Gallery Standouts

Hello all! Tracy here with another installment of gallery standouts. Let's get right to it!
First up is this fantastic layout by Lizzy - check out the journaling on the text path all the way around the photos!

Next is this terrific layout by froggie. LOVE the shadow work - take a look at those leaves!
 And last but not least, I love this multi photo layout by scrappycath and how well they're integrated into the overall design.
 Hope you've enjoyed this bit of eye candy as much as I have!
Friday, May 27, 2011
Something Fishy and CU Torn: White
Another fish Friday! Chelle has Something Fishy for you today. A great kit for your finned friends! There is also a great feltie add on and wordart. Plus if you purchase the combo this week, you get the wordart for FREE! How great of a deal is that?!?


And Chelle also has some great CU tears!
 and a little sampler to whet your whistle:

Want to know how to use the tears? Scroll down to the next post for a great tutorial!
And here is what the CT made using the kit:
Tracy: Liz:
Liz:  Lisa:
Lisa:  Heather:
  Janine:
  Roxana:
  Fran:
Fran:  Kassie:
  Shanell:
  Kayla:
  Jan:
Jan:  Lizzy:
  Kairyn:
  Finally a little blog freebie:


And Chelle also has some great CU tears!
 and a little sampler to whet your whistle:
Want to know how to use the tears? Scroll down to the next post for a great tutorial!
And here is what the CT made using the kit:
Tracy:
 Liz:
Liz:  Lisa:
Lisa:  Heather:
  Janine:
  Roxana:
  Fran:
Fran:  Kassie:
  Shanell:
  Kayla:
  Jan:
Jan:  Lizzy:
  Kairyn:
  Finally a little blog freebie:
So How do you use those torn edges?
Here's a simple way to use the tears. The screenshots are from PSE 9. I am not "tearing" the dark orange paper...it's my background (and I needed you to be able to see the tear)
Step 1. Place the tear on a 12x12 file. Make sure it goes all the way to the top & bottom (they are slightly longer than 12 inches, so this shouldn't be difficult.)
Step 2. Use the magic wand to select the empty space on the right side of the tear.
Step 3: To make sure the paper goes all the way to the tear, we need to make the selection a tiny bit bigger. Under Select>Modify>Expand...
...and choose 2 pixels
Step 4: We need to make a new layer UNDER the tear. Make sure the bottom layer is selected, then click on the "new layer" icon in the layers palette (see the tiny dialog box in the very bottom right corner...click there)
Step 5: Now fill the selection on the new layer...doesn't matter the color, we are making a mask to attach our paper to. Under Edit>Fill Selection
Now it will look like this:
Step 6: Drag the paper you want to "tear" onto the stack OVER the mask, UNDER the tear.
Step 7: "Clip" the paper to the mask. Make sure the paper layer is selected, then hit Ctrl-G (or Command-G on the mac)
Step 8: Merge the 3 layers: tear, paper, & mask.
Step 9: Add a shadow (you can move your paper around to exactly where you want it now)
That's it. See? Not hard at all.
Doesn't that make you want ALL of the torn edges?
--Chelle
Thursday, May 26, 2011
Tuesday, May 24, 2011
Tuesday Freebie!
Hi there! Roxana here with the Tuesday Freebie. Chelle's The Carrot Patch is such an adorable and cute kit that I decided to make this little giftie for you!
Enjoy your freebie!!
Monday, May 23, 2011
Product Flashback: Make A Splash

Hi everyone! Happy Monday. Cara (aka colson) here today to highlight a "not new" digi-kit of Chelle's. Since the weather is (finally!) warming up and summertime fun is on our minds, this kit is perfect for showcasing those swimming, waterpark, vacation or other warm weather pictures. There are so many fun papers and splash embellies that you just want to smile while you create your layout! Here's a look at the kit which you can get HERE:

Isn't that fun?!? My little boy and I tagged along with my husband on a recent business trip and I found this to be the perfect kit to scrap the photos of swimming in the hotel pool. Here's my layout using Make A Splash, Splash of Summer Alpha and Scrap Like Tracy Templates:

I challenge you to start taking some warm weather photos and grab this kit... you'll be so glad you did! Link us up here, so we can see your fabulous layouts.
Sunday, May 22, 2011
Happy Birthday Mousescrappers!!! Blog Train...
Happy Birthday! Can you believe it's been 2 years? Welcome to Chelle's Creations Station!
Check out some of my favorite products:
Now for the blog train
Here's what I have to help you celebrate:
Sorry -- link has expired...you can find the alpha in my store 6/3/11
Toot! Toot! I hear the train coming...
Now head on over to Keystone Scraps for your next goodies!
Check out some of my favorite products:
Now for the blog train
Here's what I have to help you celebrate:
Sorry -- link has expired...you can find the alpha in my store 6/3/11
Toot! Toot! I hear the train coming...
Now head on over to Keystone Scraps for your next goodies!
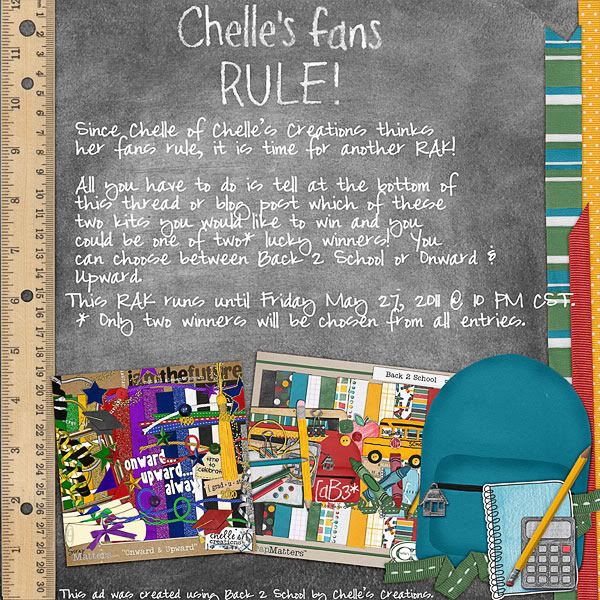
Chelle's Fans RULE so it's time for another RAK

Hi everyone, Janine here again and it’s time for another RAK from Chelle’s Creations. Chelle thinks her fans RULE so we are doing a school themed pick your kit this month.
What do you have to do to win? It’s easy just post below which of the two kits Onward and Upward or Back 2 School you would like to have if you are chosen as the winner. You could be one of two lucky winners.**
Here are larger views of the kits that you are chosing from:

This RAK will run until Friday May 27th @ 10 PM CST so make sure to put your entries in before then. *
*Entries posted without choosing a kit will not be put into the draw.
**Only two entries for all the places the RAK is posted will be chosen as winners. Please only post in one spot.
************** Winner Announcement********************
The winners chosen by Random.org are kater07 and shayna, congrats ladies stay tuned to your PM box for a code to get your goodies soon. Thank you everyone for playing along and keep your eyes peeled for another RAK from Chelle soon!
********* Winner Announcement********************
Saturday, May 21, 2011
5/21- Gallery Standouts
 Hi friends- Whit here to bring you some layouts that really show off Chelle's products this week! The first layout I'm sharing is Animal's You Love by LeeAndrea. I just love the idea of the little animals and how her daughter pronounces each of them- sooo cute!
Lemons by Aussiegirl was a layout that I thought was perfect to share with you as summer is approaching! LOVE the colors and elements- adorable word art too!

Lastly, here is First Pin by mhreen08- the design is just amazing! I love the white space with the layers at the top-center. Such a special LO!
 Aren't these great?!? If you have time, please leave these ladies some gallery love. Have a super weekend!
Friday, May 20, 2011
In Harmony Collab with Elise’s Pieces and CU Paper Tape
Chelle has hooked up with Elise Hansen of Elise’s Pieces (a guest over at ScrapMatters) to create this musically inclined kit, In Harmony. Perfect for band, choir, orchestra, and so much more! And Chelle and Elise made coordinating wordart plus Chelle made some extra felties (isn’t she talented?) And if you buy the kit and felties this week, you get the wordart for free! What a steal!


 Plus, Chelle has made some CU Paper Tapes:
And the CT was so excited for this kit that they created a ton of layouts, here are just a few of them:
Kairyn:  Lisa:
Lisa:  Liz:
Liz:  Susan:
  Jan:
Jan:  Roxana:
  Tracy:
  Fran:
Fran:  Kayla:
  Shanell:
  Kassie:
  Lizzy:
  Chelle:
And finally a little add on that coordinates!
Subscribe to:
Comments (Atom)


