
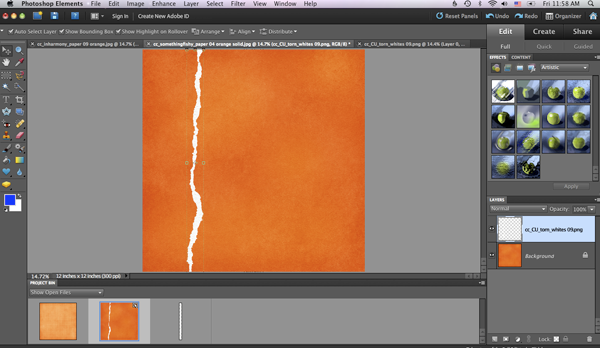
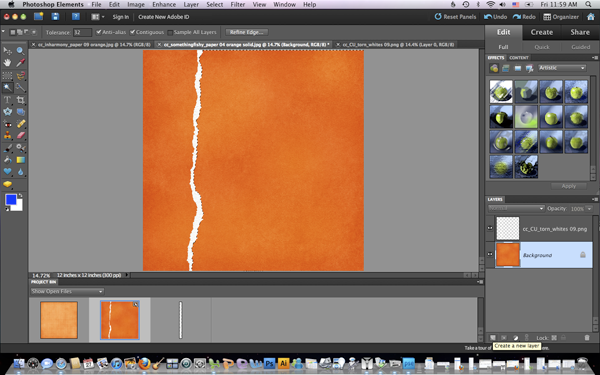
Step 1. Place the tear on a 12x12 file. Make sure it goes all the way to the top & bottom (they are slightly longer than 12 inches, so this shouldn't be difficult.)
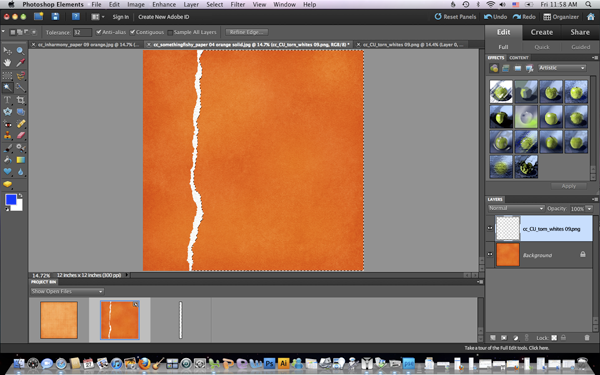
Step 2. Use the magic wand to select the empty space on the right side of the tear.
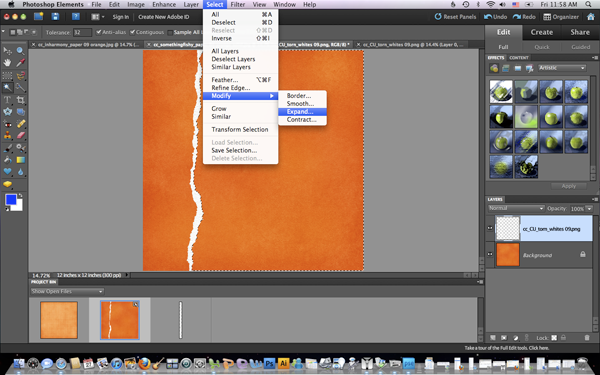
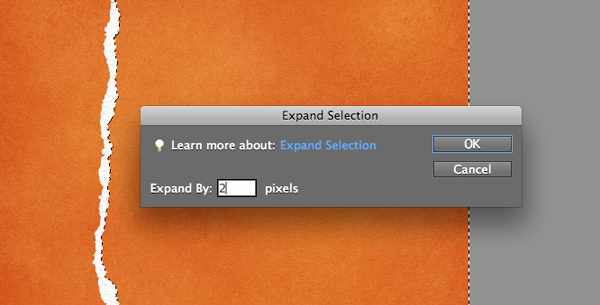
Step 3: To make sure the paper goes all the way to the tear, we need to make the selection a tiny bit bigger. Under Select>Modify>Expand...
...and choose 2 pixels
Step 4: We need to make a new layer UNDER the tear. Make sure the bottom layer is selected, then click on the "new layer" icon in the layers palette (see the tiny dialog box in the very bottom right corner...click there)
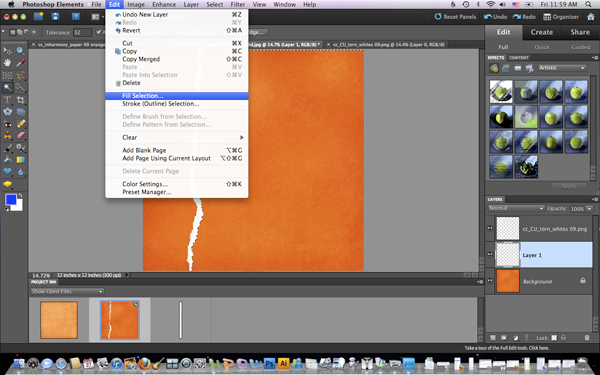
Step 5: Now fill the selection on the new layer...doesn't matter the color, we are making a mask to attach our paper to. Under Edit>Fill Selection
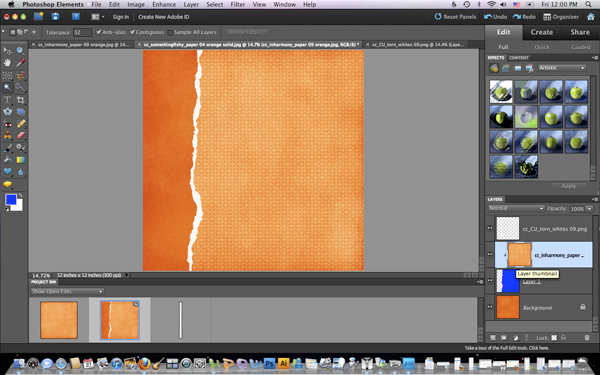
Now it will look like this:

Step 6: Drag the paper you want to "tear" onto the stack OVER the mask, UNDER the tear.
Step 7: "Clip" the paper to the mask. Make sure the paper layer is selected, then hit Ctrl-G (or Command-G on the mac)
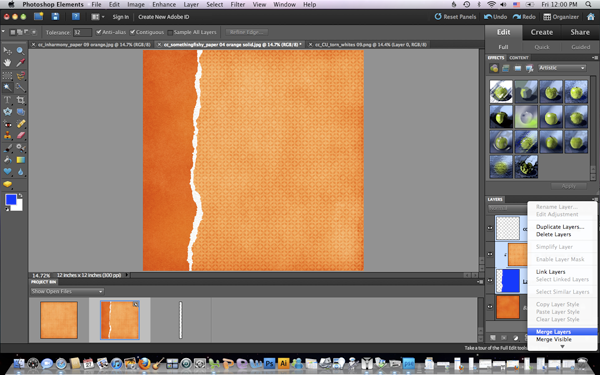
Step 8: Merge the 3 layers: tear, paper, & mask.
Step 9: Add a shadow (you can move your paper around to exactly where you want it now)

That's it. See? Not hard at all.
Doesn't that make you want ALL of the torn edges?
--Chelle


Great tut, Chelle!
ReplyDeleteThank you for the great tutorial and the sample tear :) Really appreciate it!
ReplyDelete