

Jenn was busy today, so it's Kayla steppin' in to do the How to this week. I'm not as good with the tutorials as Jenn, but I do have a few tricks I turn to when I'm scrappin'. I'd like to share one with ya'll today.
Want to get more out of your basic, go-to scrappin’ supplies? Of course you do, and so do I. Today I’m going to show you how to stretch your doodles. We’re not really going to stretch them, but just learn how to modify them so they look different and can be used in more ways – thus giving us more scrappin’ supplies. LOL
Today I’m working with Doodleydo: Frames from Chelle’s Creations.

*** available for purchase here. ***
This go-to set is awesome as is, but can be used for so much more with just a little Photoshop magic.
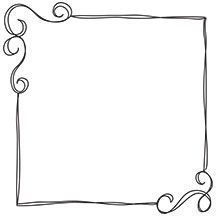
Here’s the frame cc_doodleydo_frame 03.png as it is in Chelle’s set that I'll be showing you how to modify.
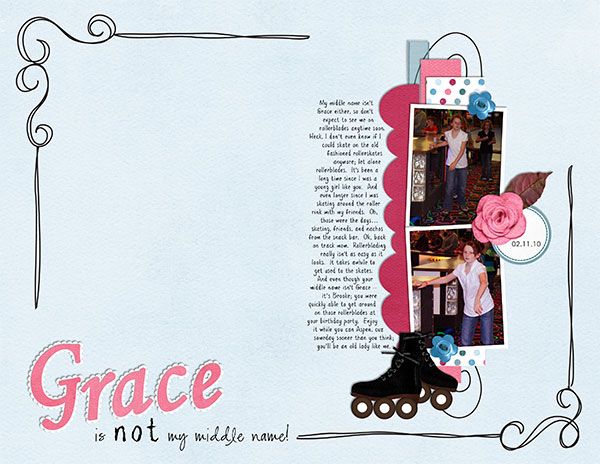
And here’s the modified frame used as doodled corner accents on my layout.
Want to know how I did it? Ok! Let’s get started. I’m using PSE 7.0, but it should be similar in other versions of PS. Sorry, I don’t know how to do it other programs.
First open the frame Filename: cc_doodleydo_frame 03.png and save it as another name, so you don’t ruin your original frame file.
Then, get your polygonal lasso tool.

We’re going to make a selection of the area to be cut from the frame.
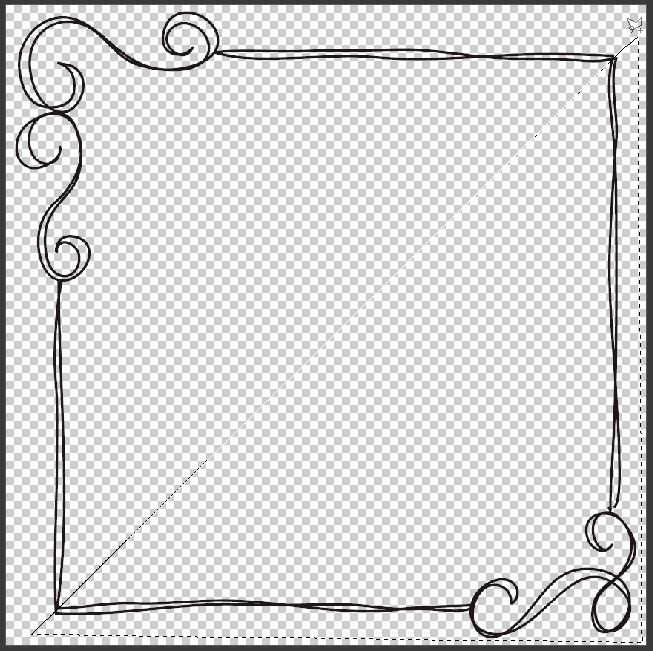
Click on the upper right hand side just outside of the doodled frame and then move down to the lower left hand side and click again. Then, move across the bottom and make sure you don’t cut off any of the doodles. Click as needed to move your way around the frame and back to the top where you started. When you get back to the starting point the cursor will show a little circle next to it so you know to click and it will connect you selection.
Your selection will look something like this – see the marching ants around the bottom right side?
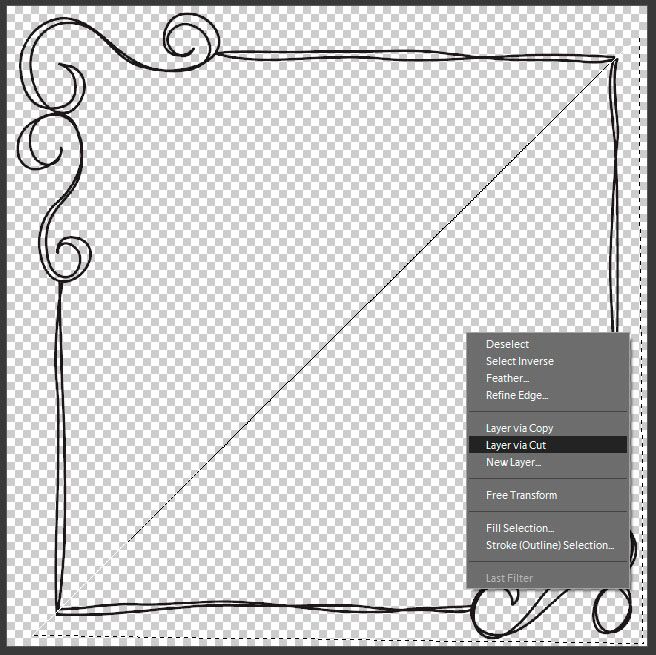
Now, we are going to cut this selection and put it on its own layer. We will do this by right-clicking inside the selection and going down to layer via cut.
This will cut the selection and put it on a separate layer in the layers palette – like this.
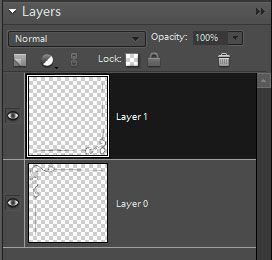
Now that you have two layers with a doodled corner accent in each layer, you can use them on your layout as desired. You can flip them, erase more from the ends, or even recolor them. The possibilities are endless. You can also, save them as .png files with a new name so you can use them again and again.
Well, I hope this little tutorial will help you stretch those scrappin’ supplies and bring new life to your layouts.
Take care and as always keepscrappin’
Kayla


No comments:
Post a Comment